Integrate Nexudus with Tapkey: How the Add-on works with Passes
Pass assignation to users has 2 important elements of integration with Tapkey Smart Locks, the first one is the Expiration Date and the second one is the usage status, by default all the passes are created in Access management using the Expiration Date, however, once a Pass is either removed from a user benefit or marked as Used, it is going to be removed as well from Tapkey.
Additional reading:
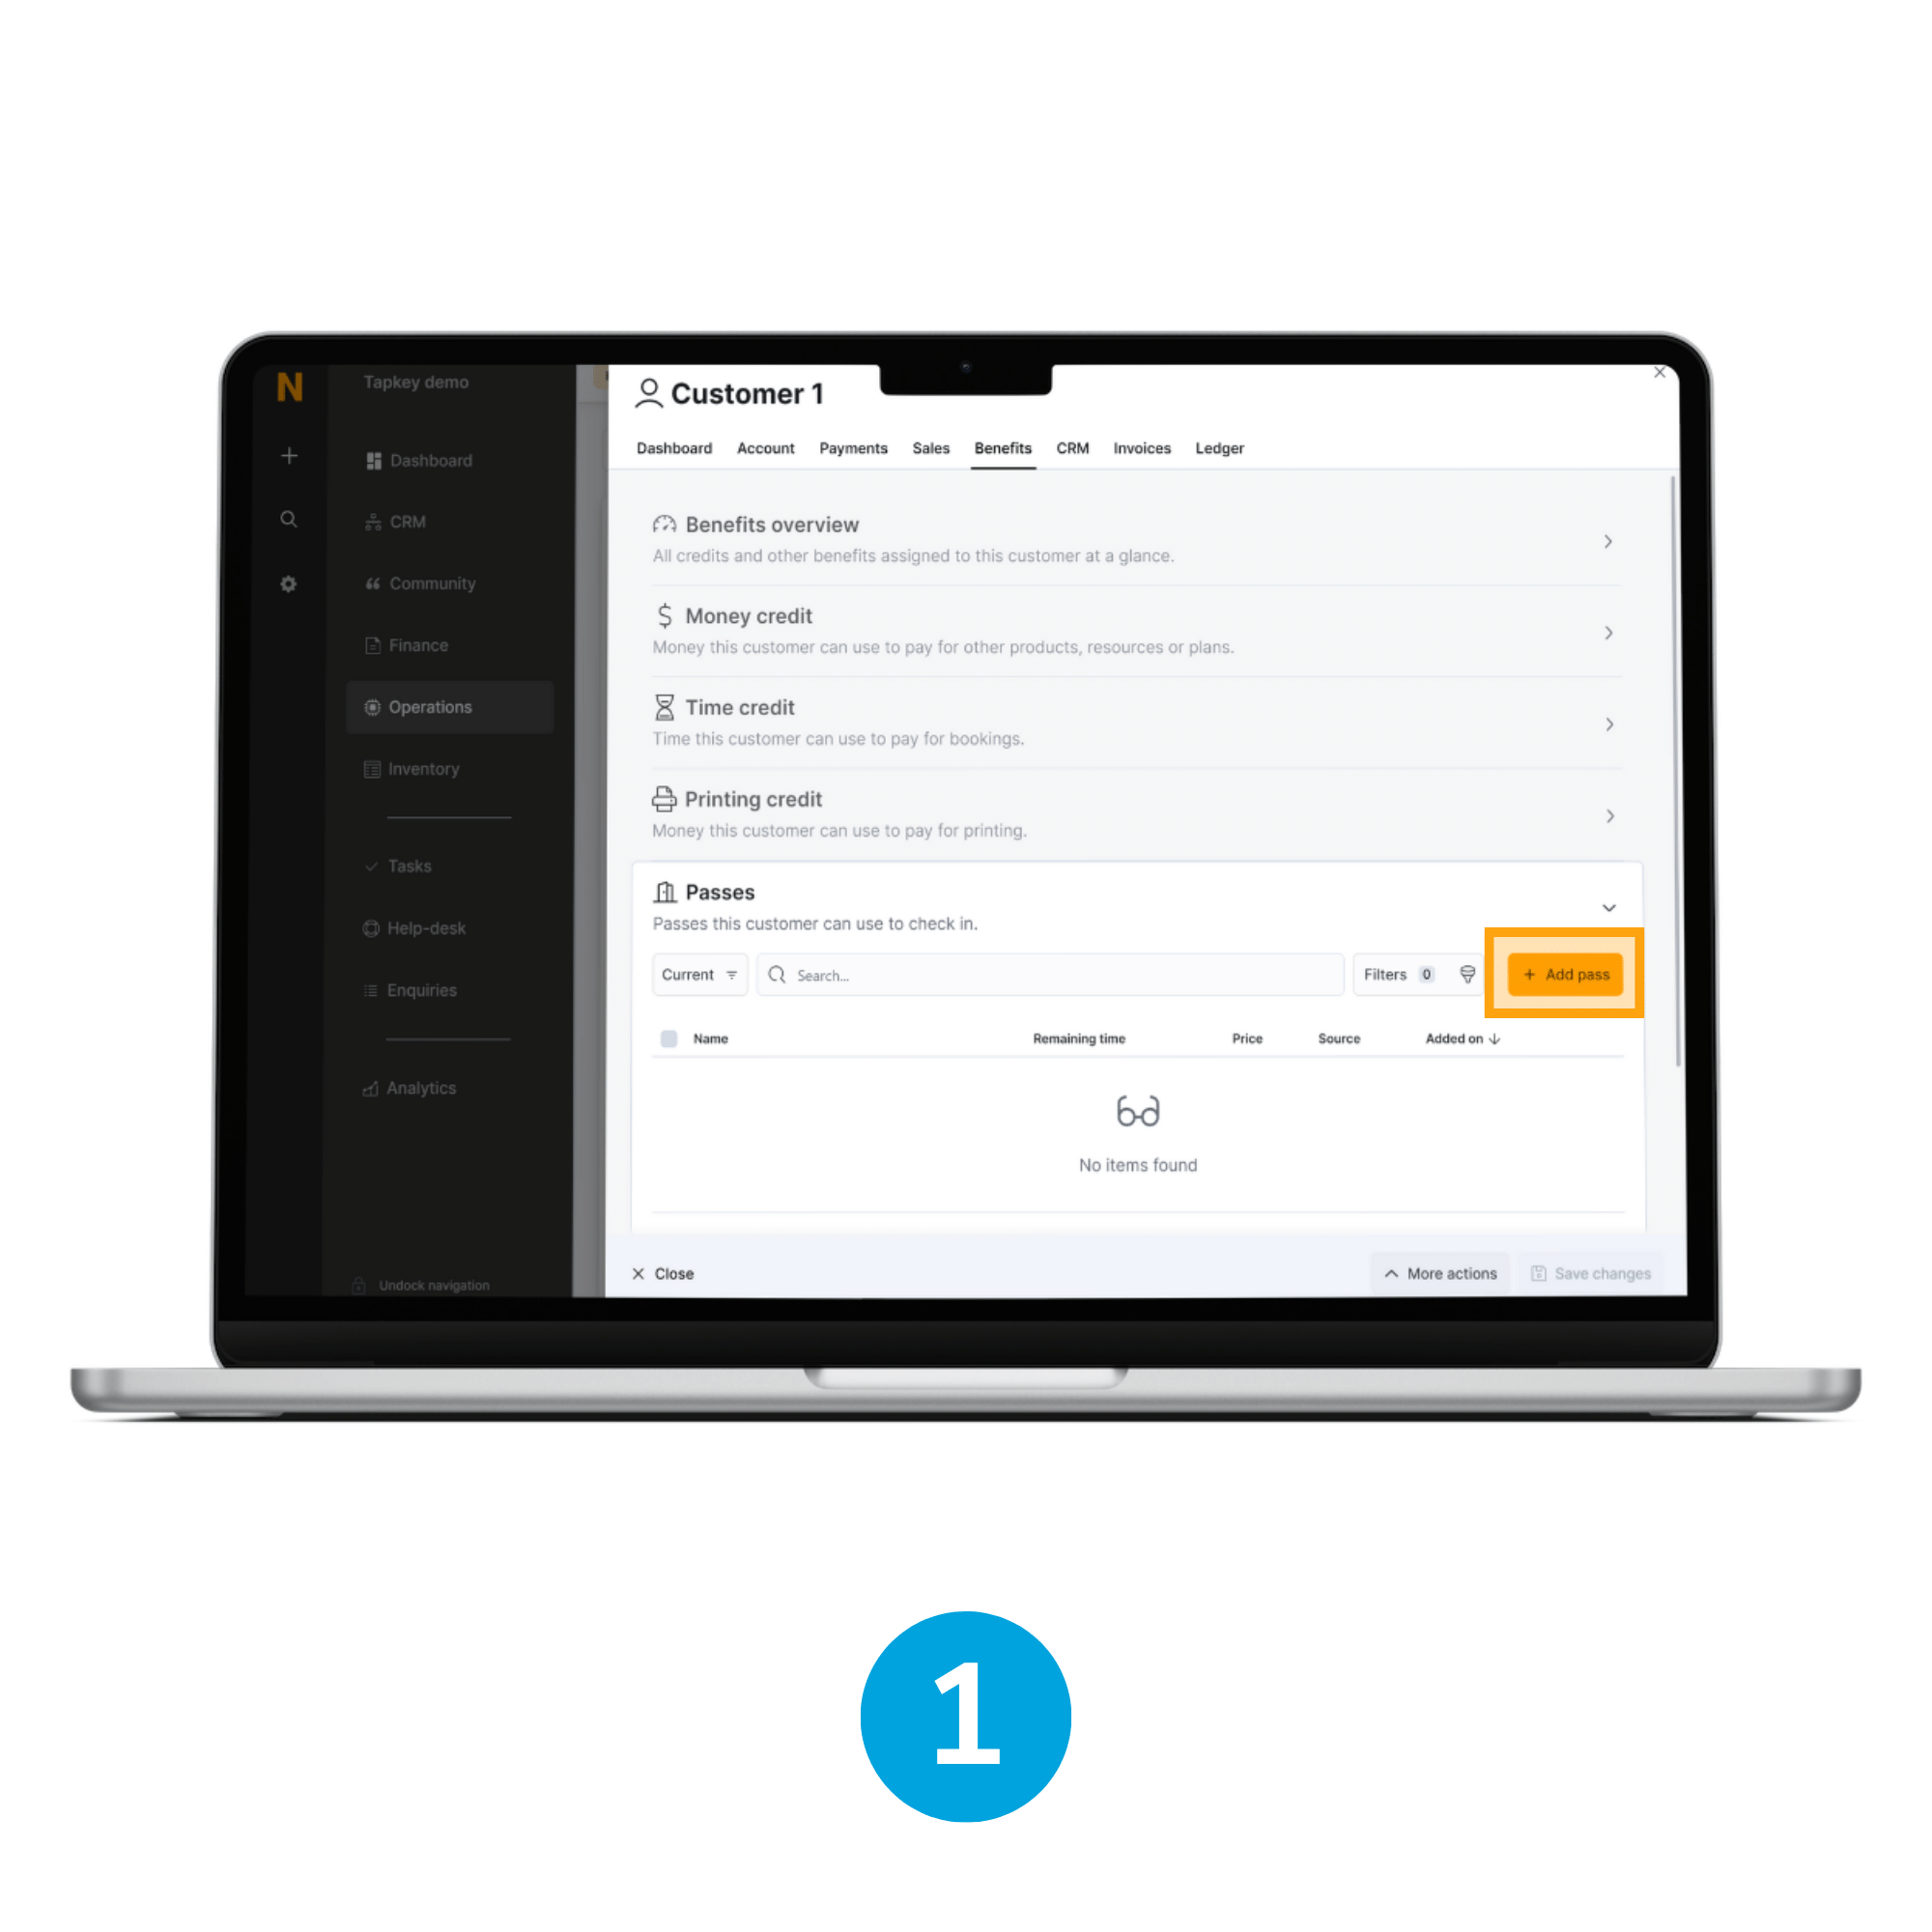
1. Overview
Passes can be seen in the Benefits area of Customers, in this scenario we are going to add the Pass ”Bike Storage” to the Coworker. Click the Add pass button to see the list of Passes available.
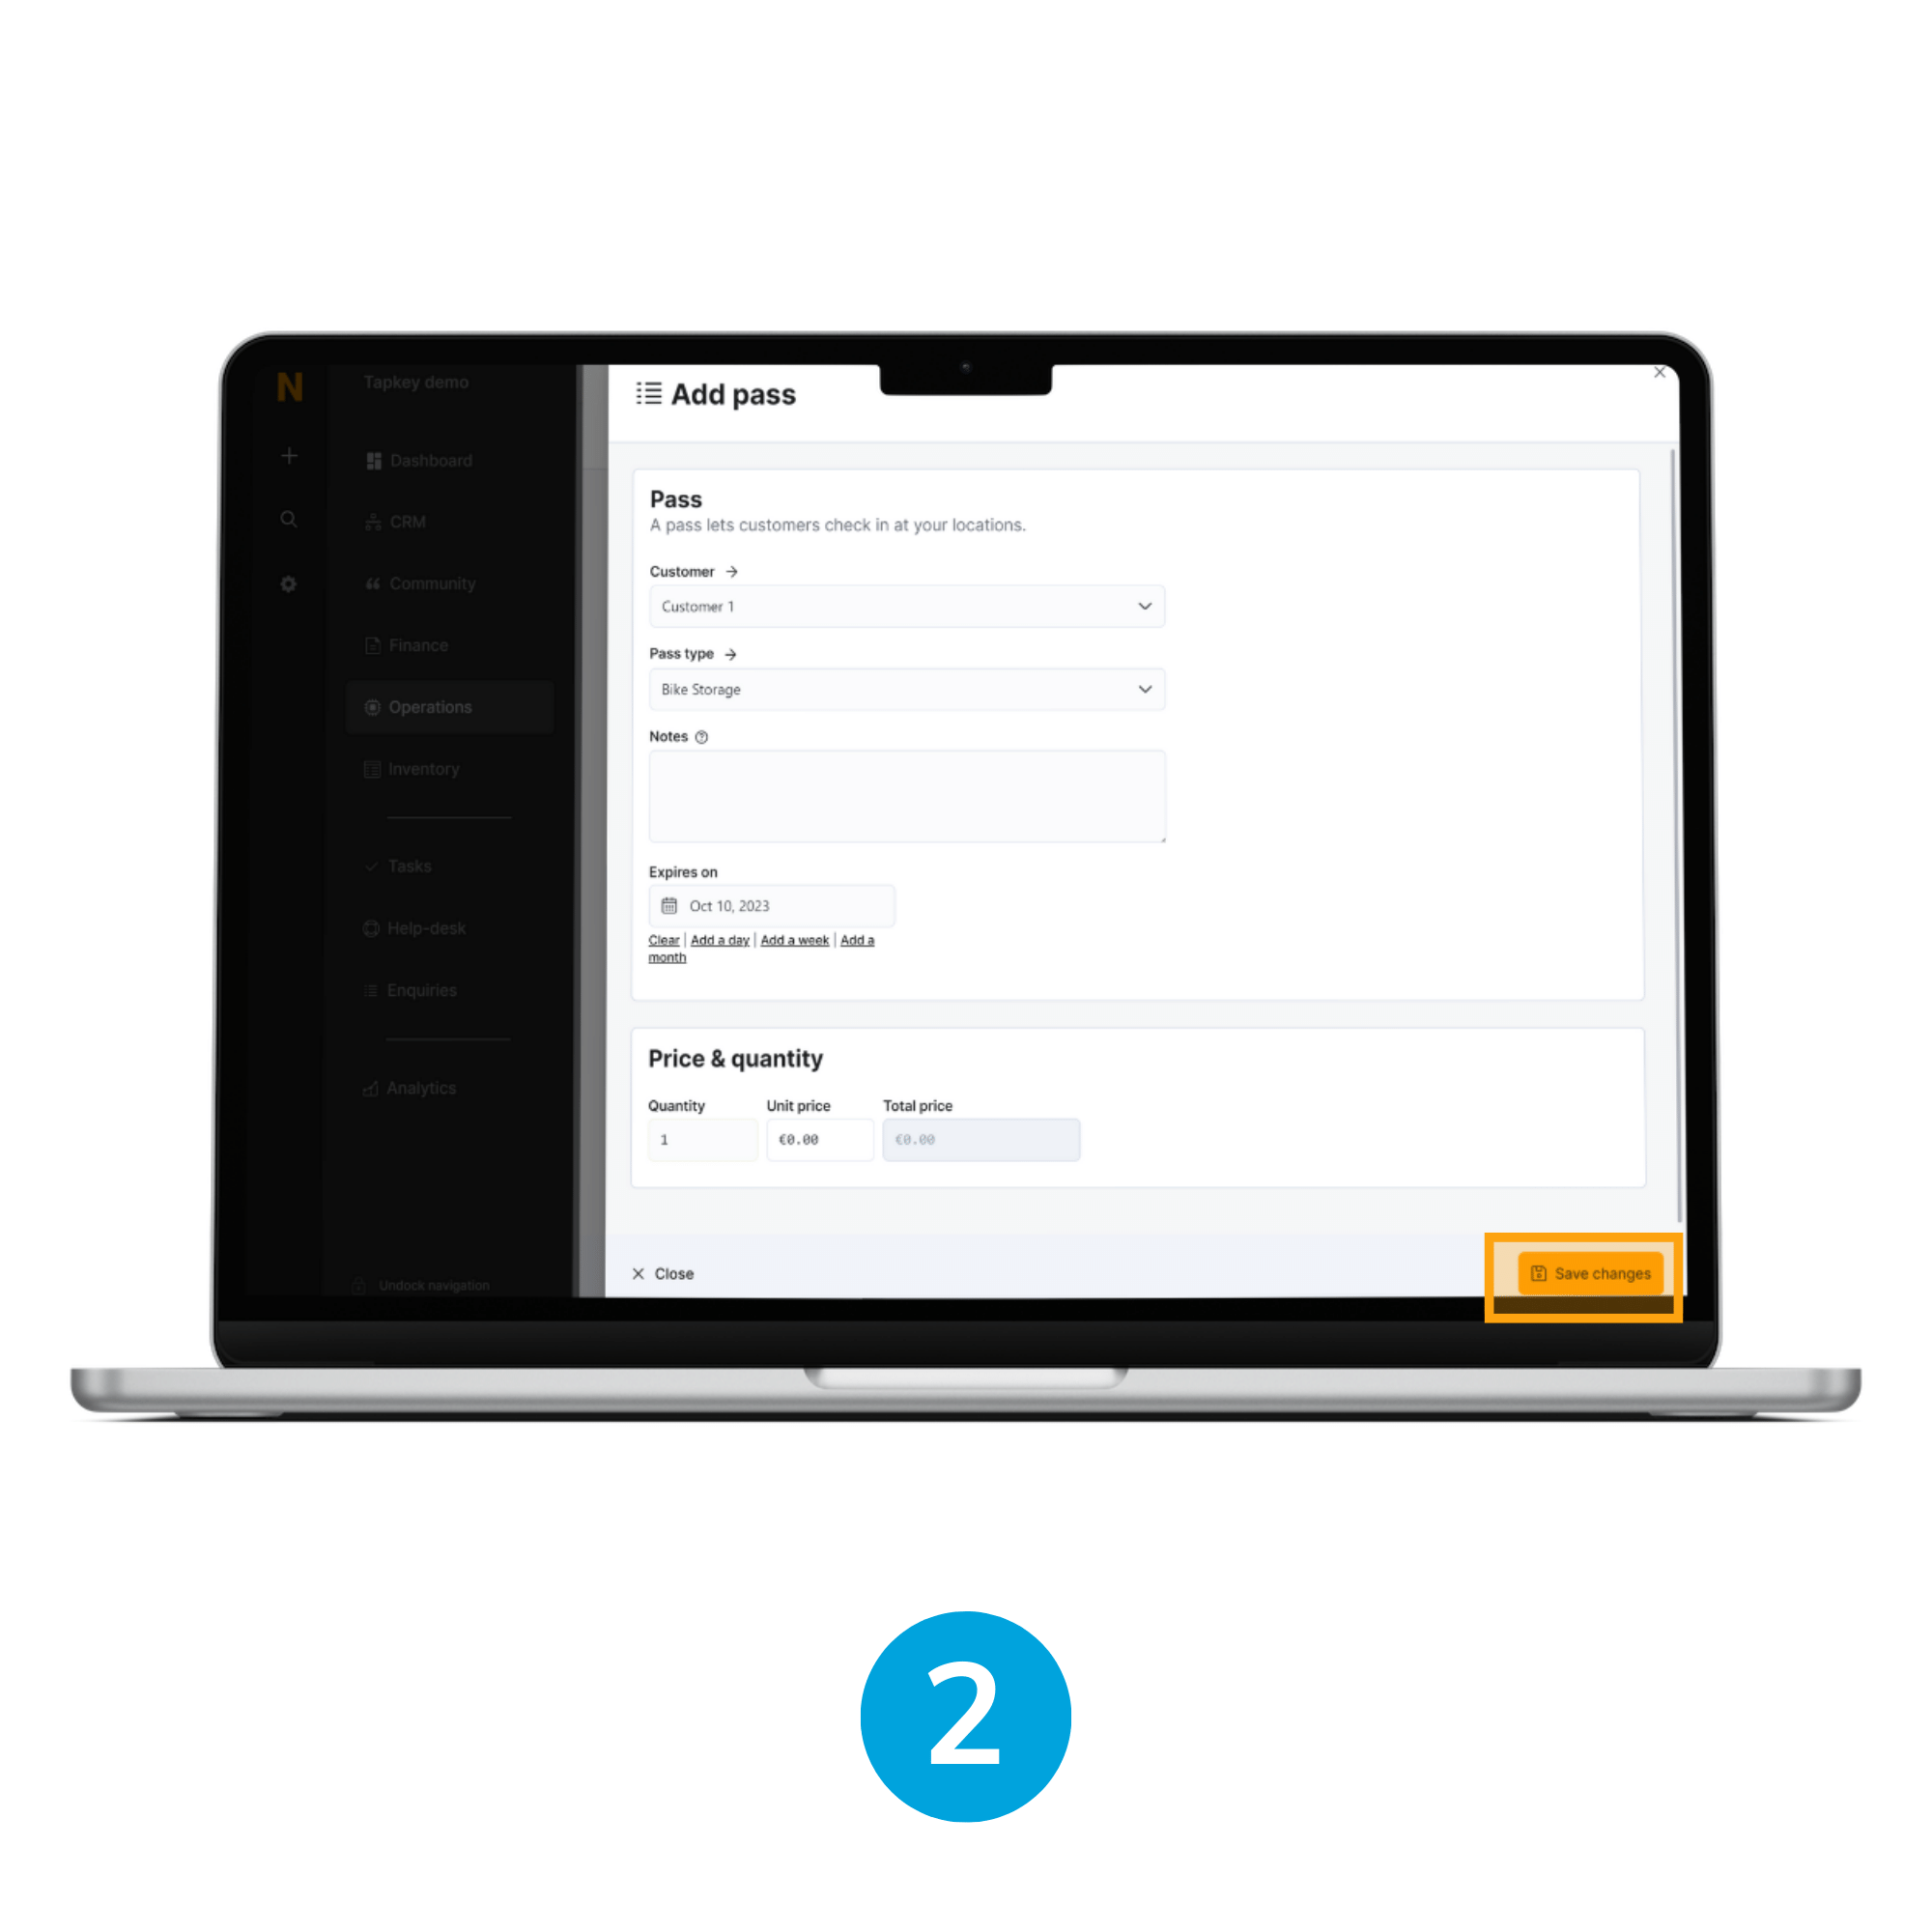
2. Define Pass
Select the Pass Type as Bike Storage and define the given expiration date. Once finished click Save Changes button.
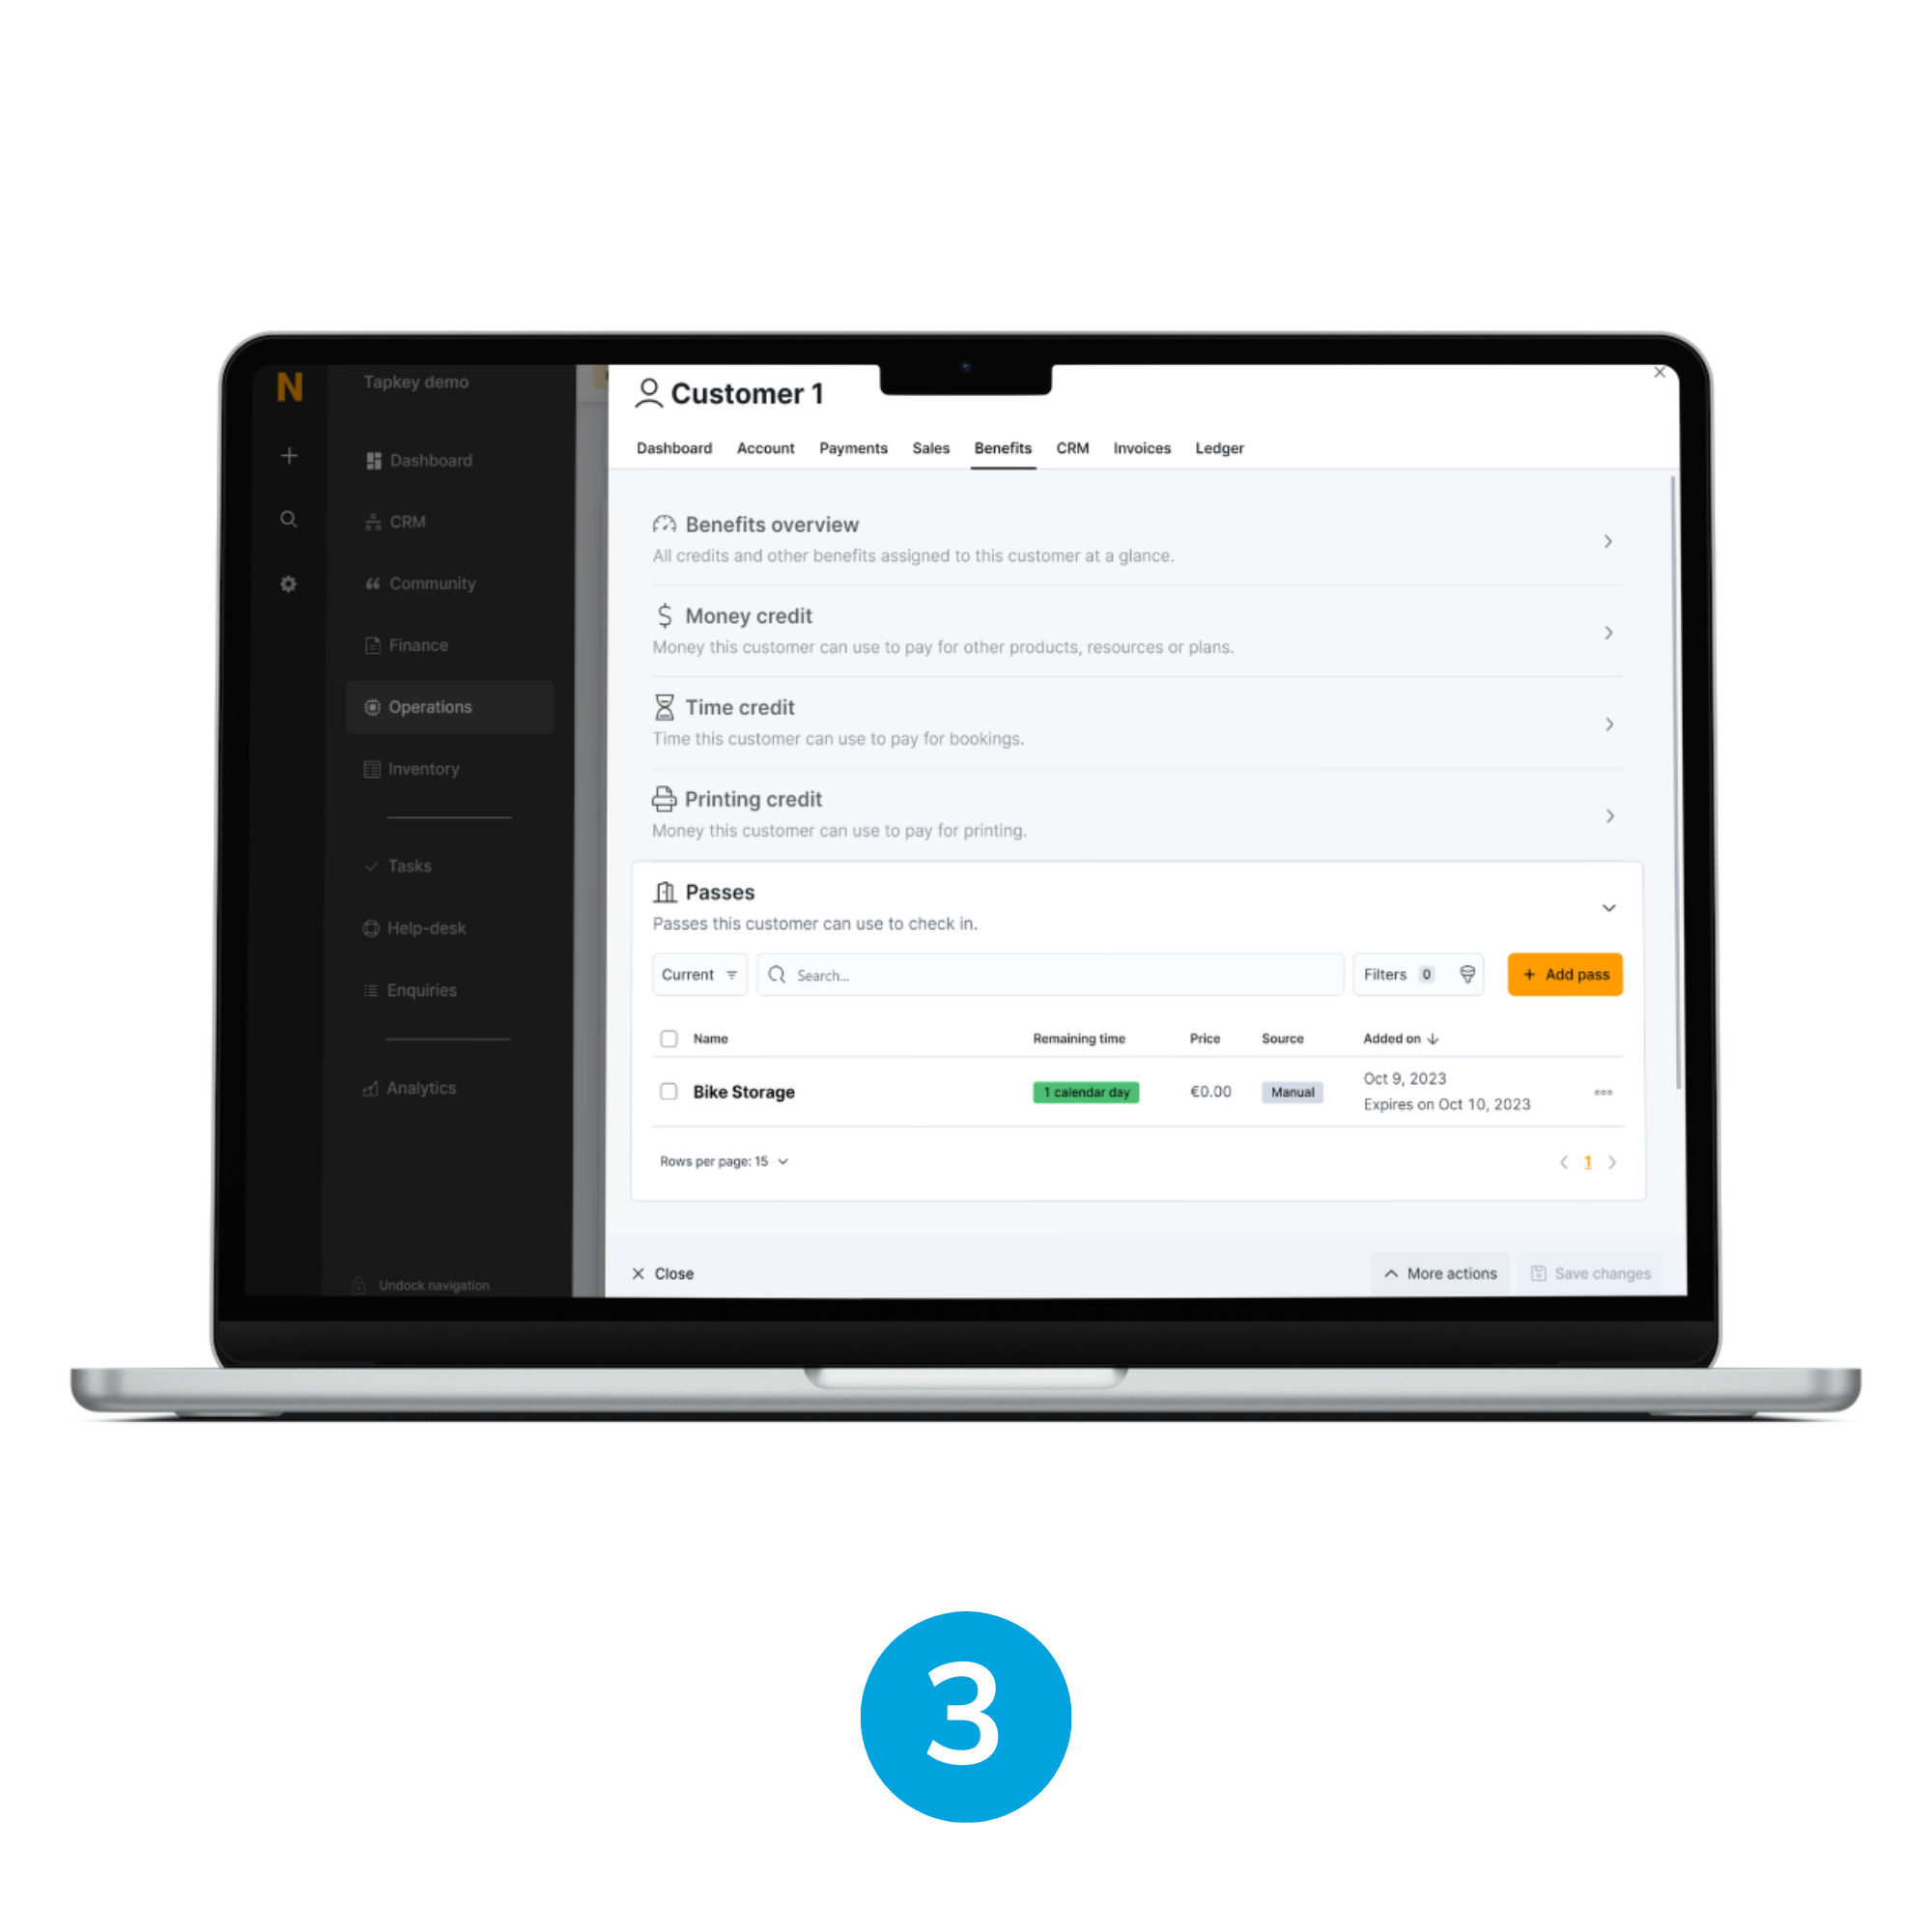
3. Verify Access
The application will display the current status of the Pass assigned within Nexudus, to verify the access granted in Tapkey, login to the Tapkey web portal or Mobile application and access the “Bike Storage” lock, where you can see the access permission created expiring in the desired expiration date.
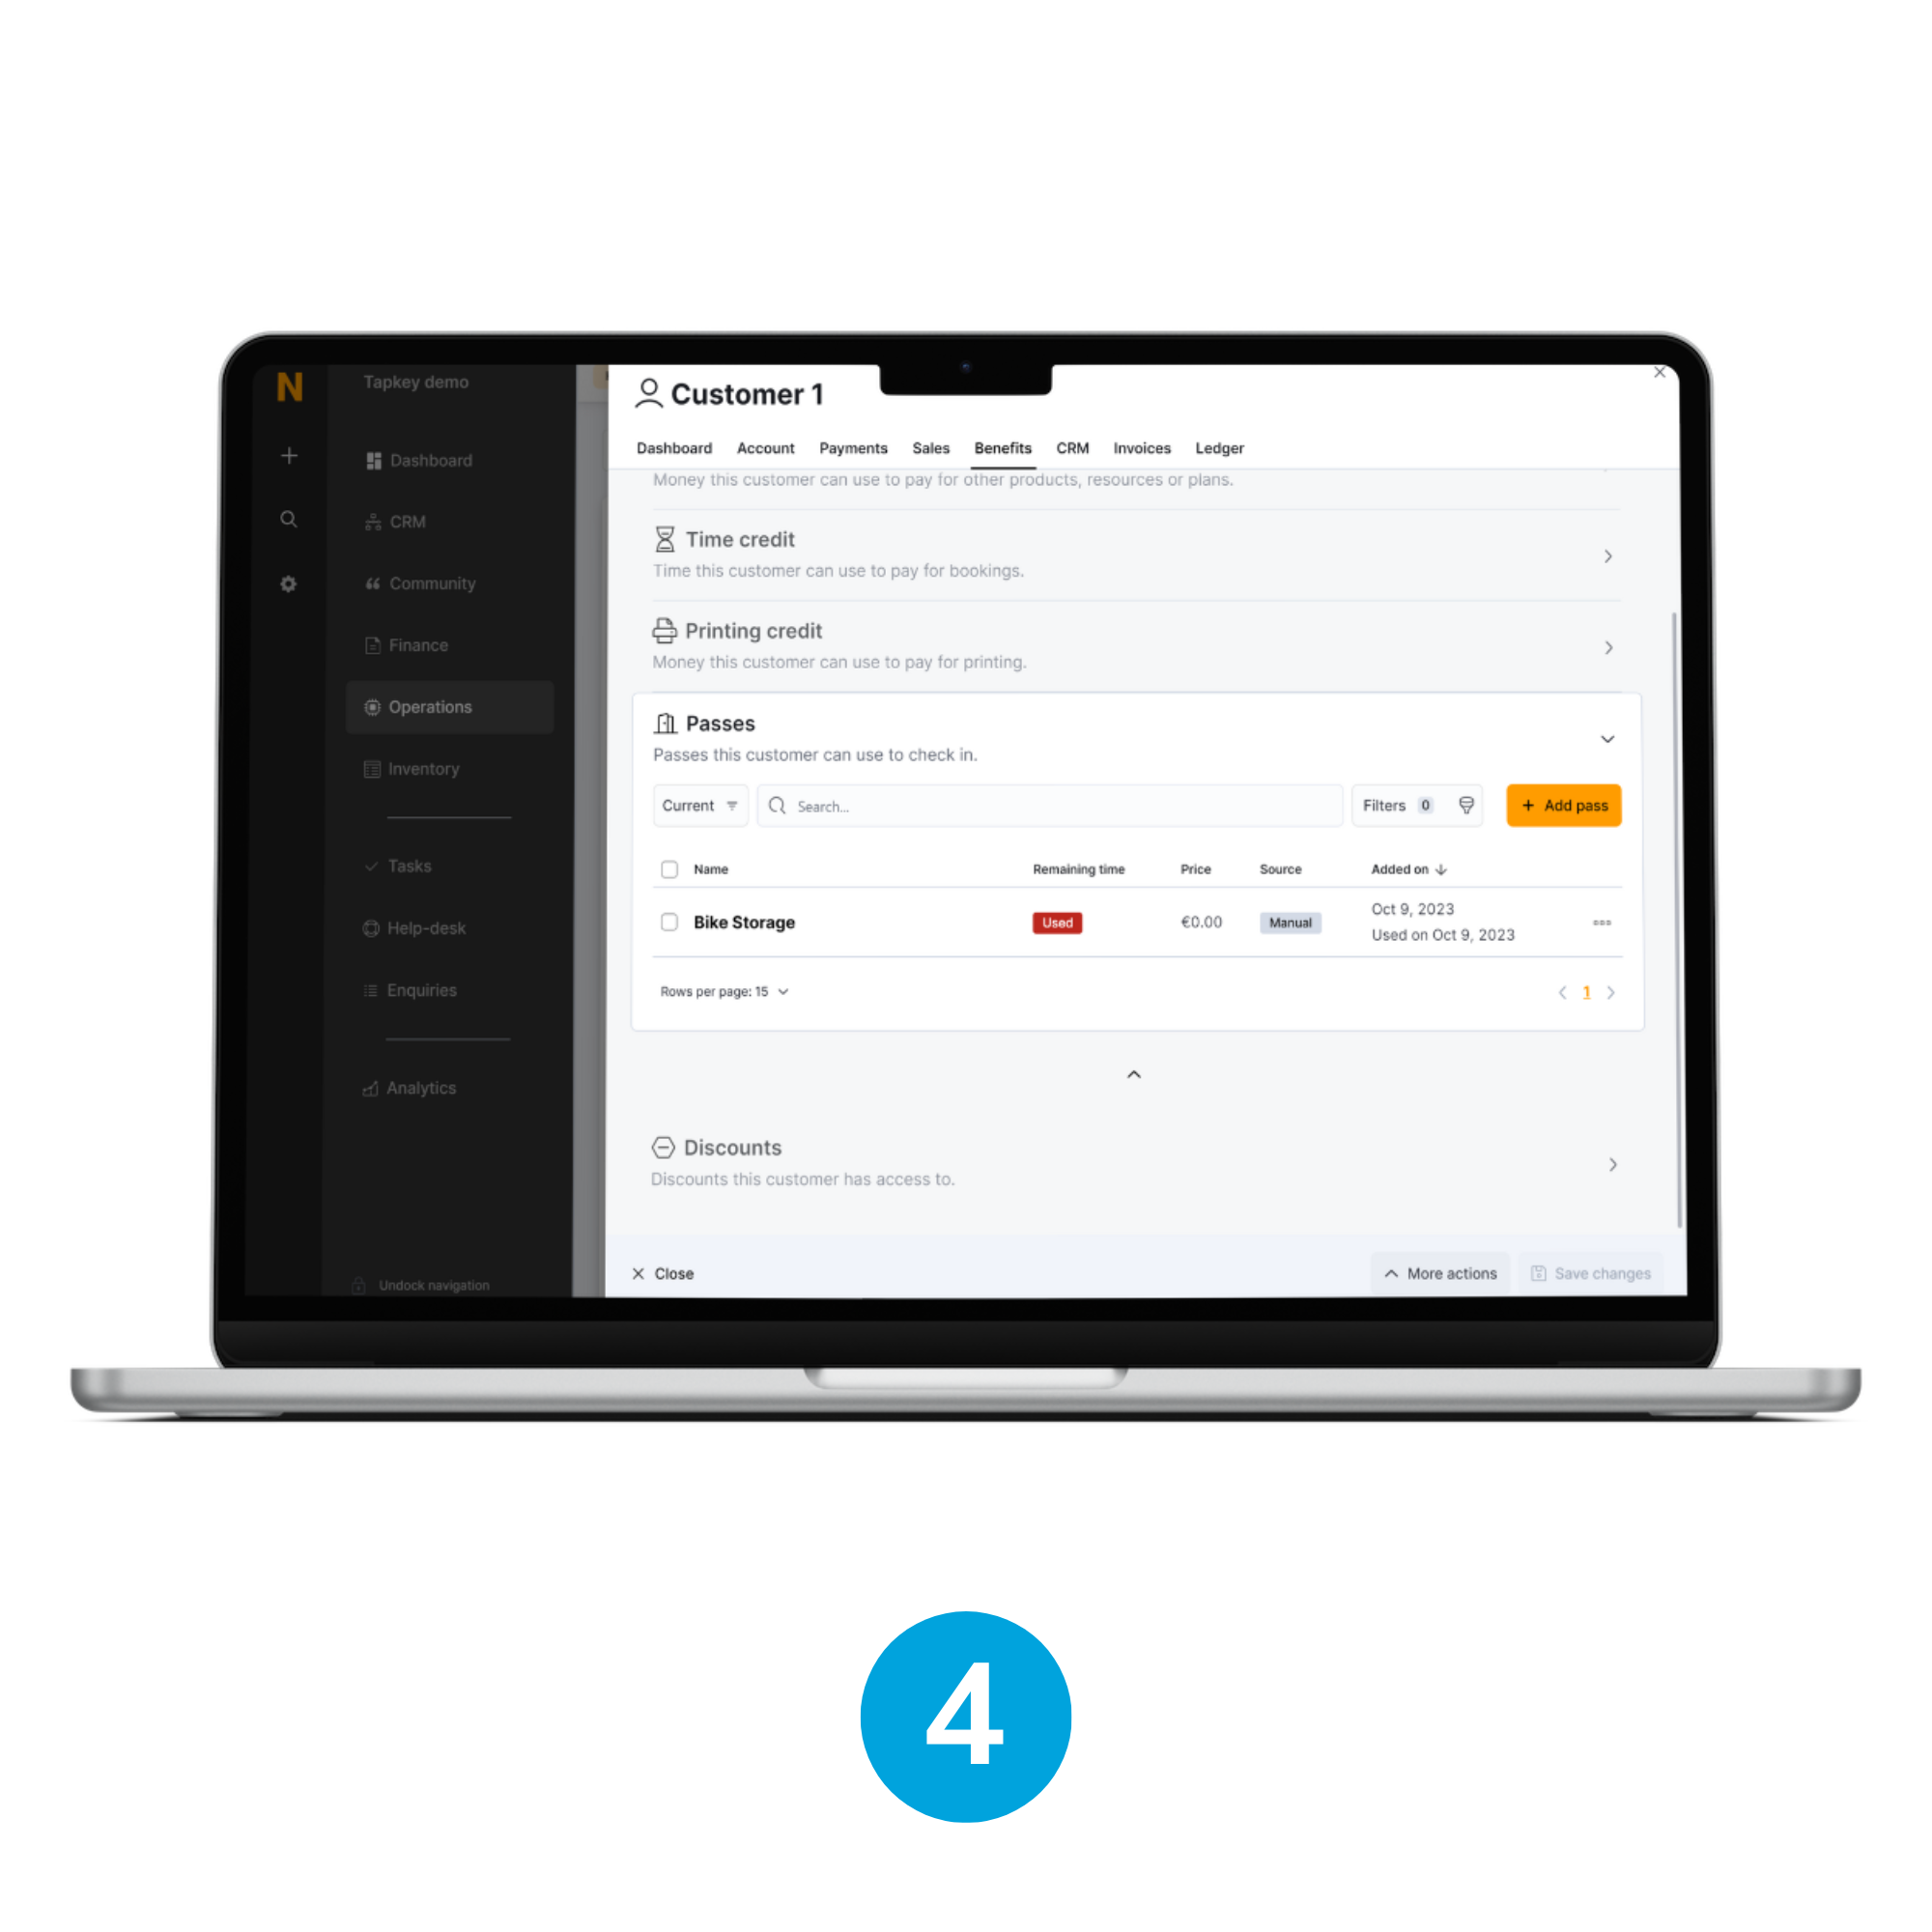
4. Revoke permission
When the Nexudus operator or Administrator marks the Pass as Used, access permission is going to be automatically revoked from Tapkey configured locks.
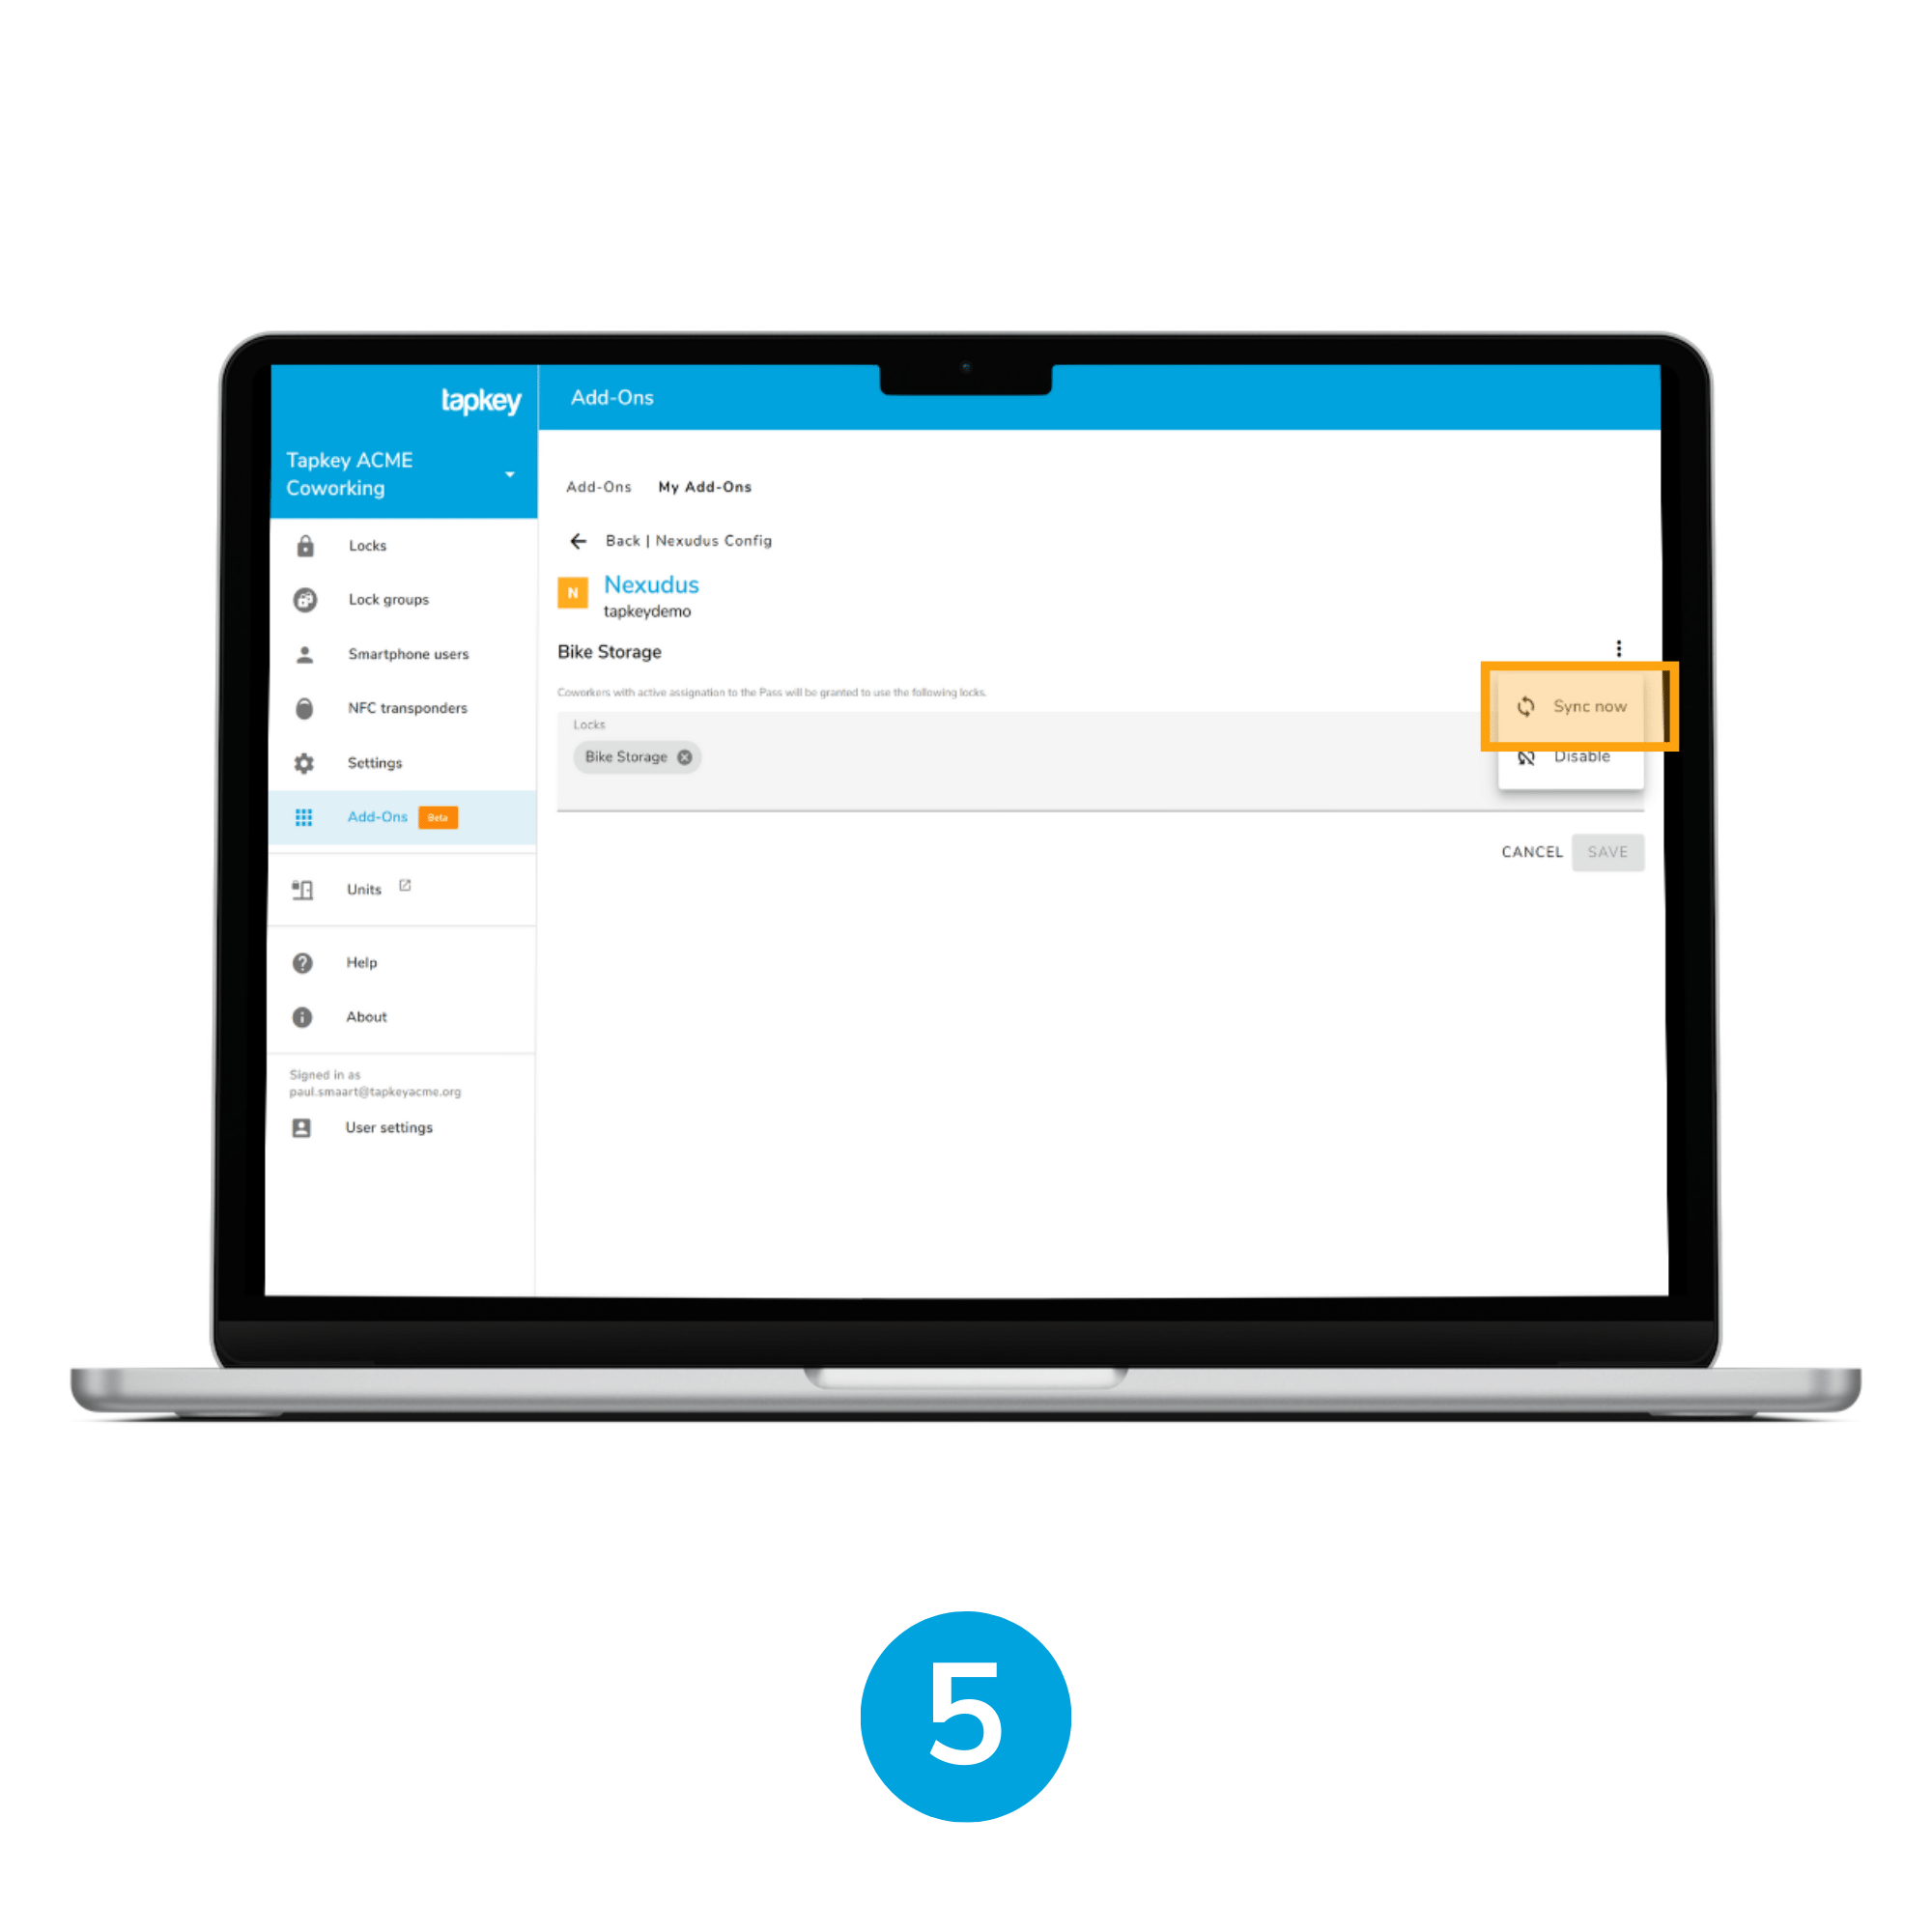
5. Manual Sync Up
For security reasons, an additional action has been provided. You can force a full sync if permissions are not properly updated from Nexudus. In the Tapkey Nexudus integration, navigate to 'Passes' and tap the 'Sync Now' option. This will update the pass and its assignments to customers.
Was this article helpful?
That’s Great!
Thank you for your feedback
Sorry! We couldn't be helpful
Thank you for your feedback
Feedback sent
We appreciate your effort and will try to fix the article